Looking for new and exciting ways to decorate your pumpkin this Halloween? The Scout Elves are always experimenting with crafts in the North Pole, and they’re here to help! Here are some of their favourite quick, easy, and mess-free no-carve pumpkin ideas perfect for the younger ones in the family.
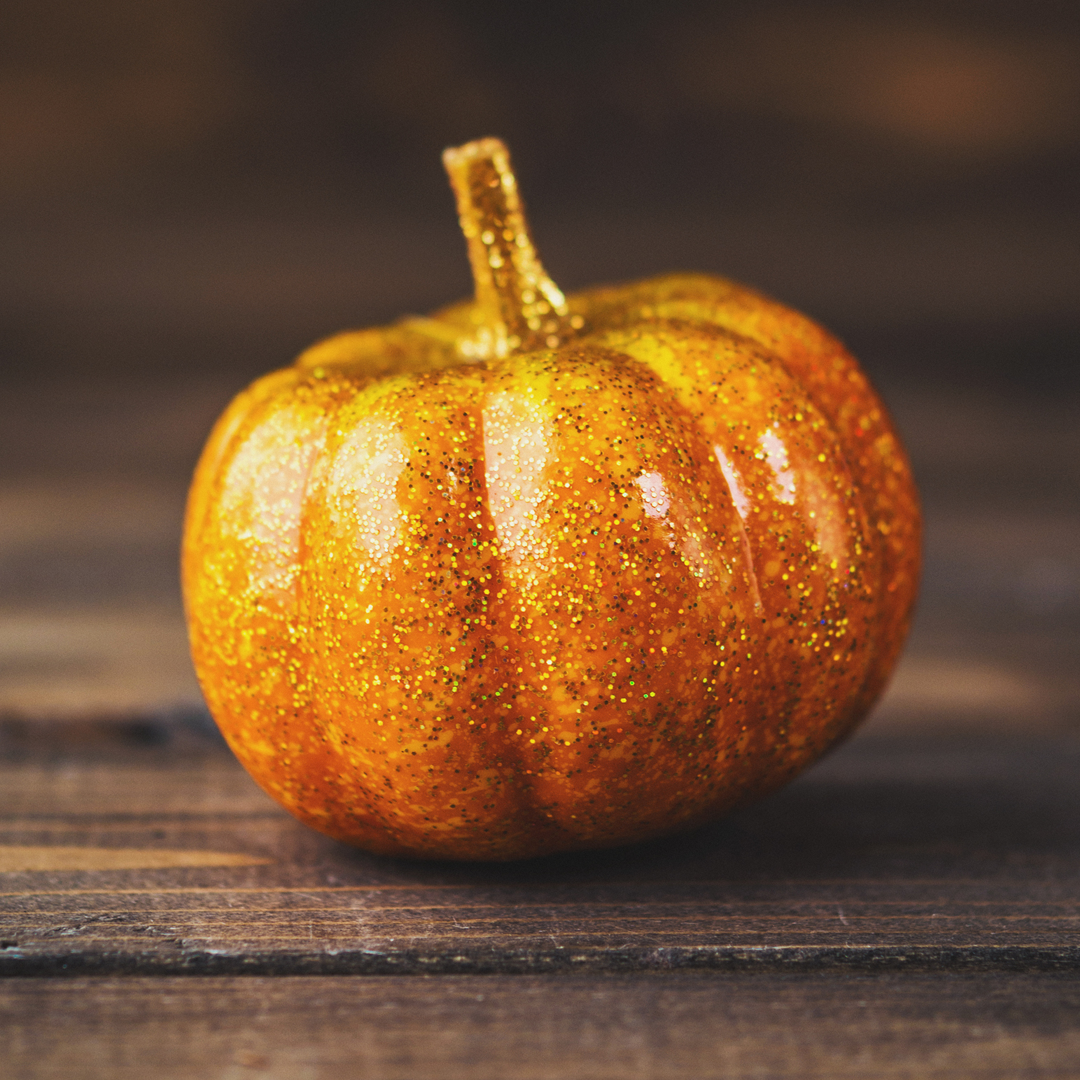
1. Glitter pumpkins
If you love a bit of sparkle in your life then glitter pumpkins are the way to go this Halloween! Go for a variety of glitter colours or stick with one – the choice is yours – and coat your pumpkins in all the sparkly goodness you desire. Don’t forget to paint the stalk a matching colour too.
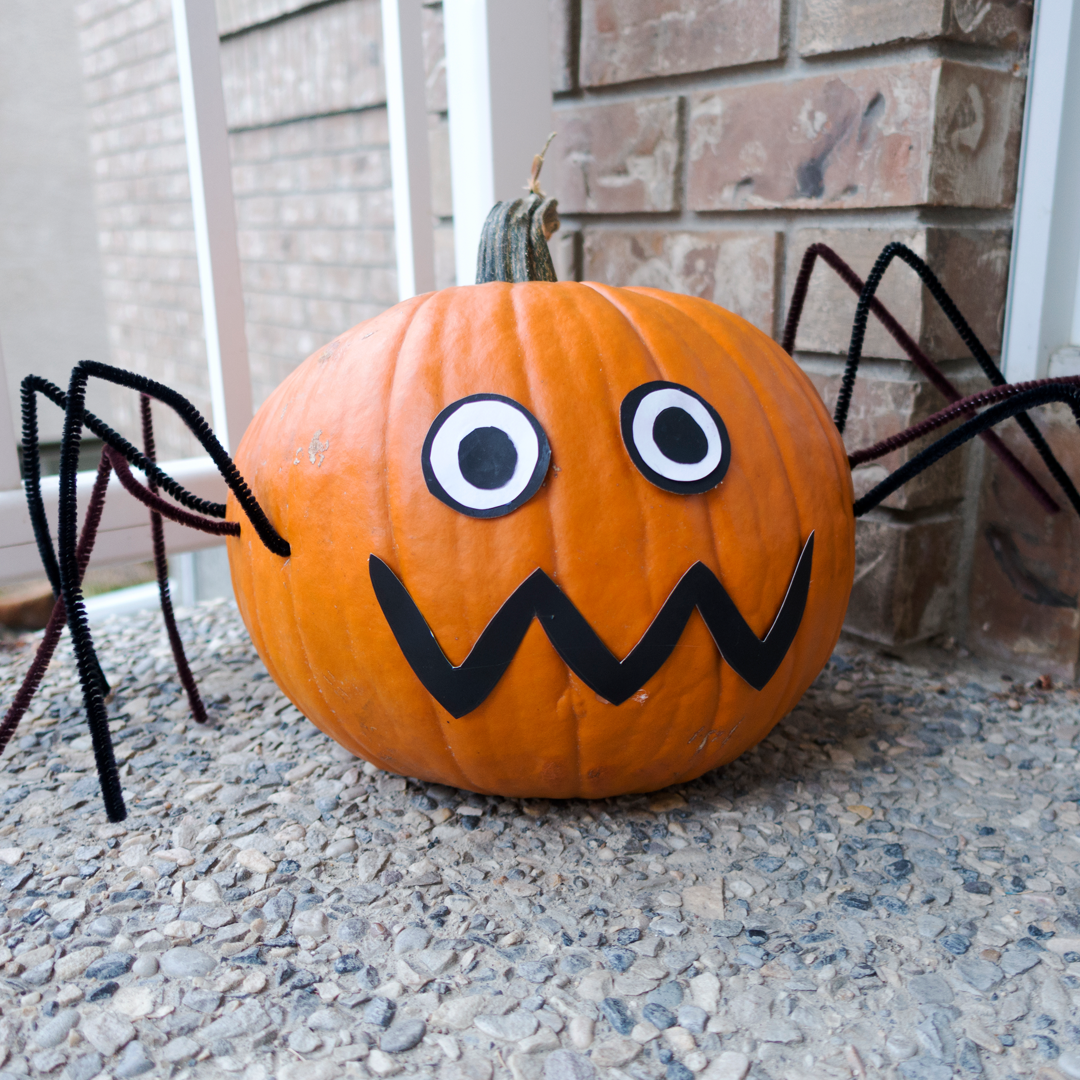
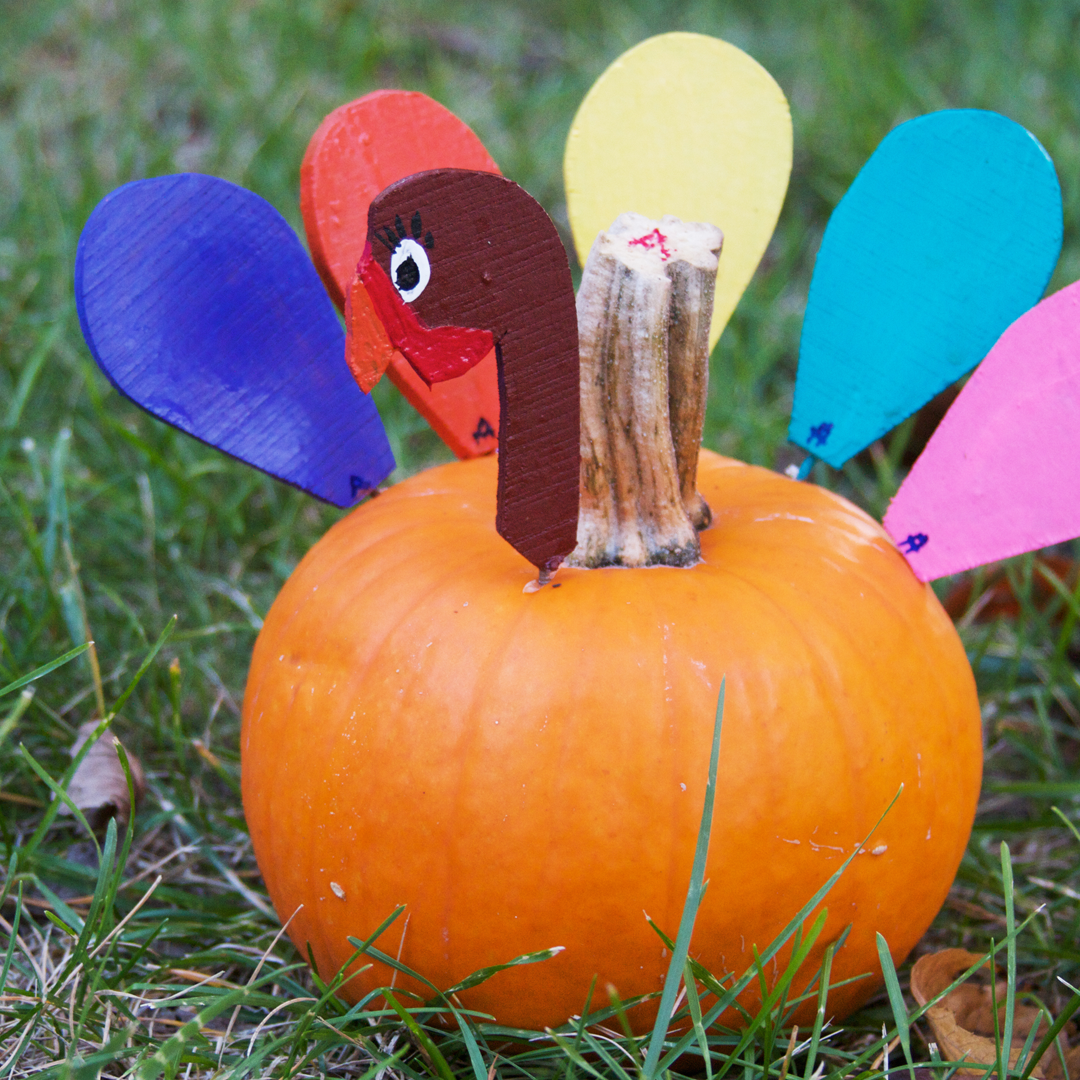
2. Accessorise!
This is one idea where the whole family can get involved. Gathering all the accessories you can think of, from foam shapes to feathers and ribbon, with a bit of PVA glue in tow, it’s time to get creative and create the best-looking pumpkins around.
3. Pour art
For something a little more gloopy and ghoulish (with a fun side, of course), we love the idea of pouring paint and letting it drip down the sides of the pumpkin. You can mix and match your colours and add more layers once they’ve dried.
4. Stencils
If you love a precise design, then stencils make a great choice for dressing up your pumpkins this October! There are so many designs you can choose from, all resulting in a super neat finish that will get the neighbours talking about your skills. Whether you use pens or paint, the options are endless with a stencil in your hand.
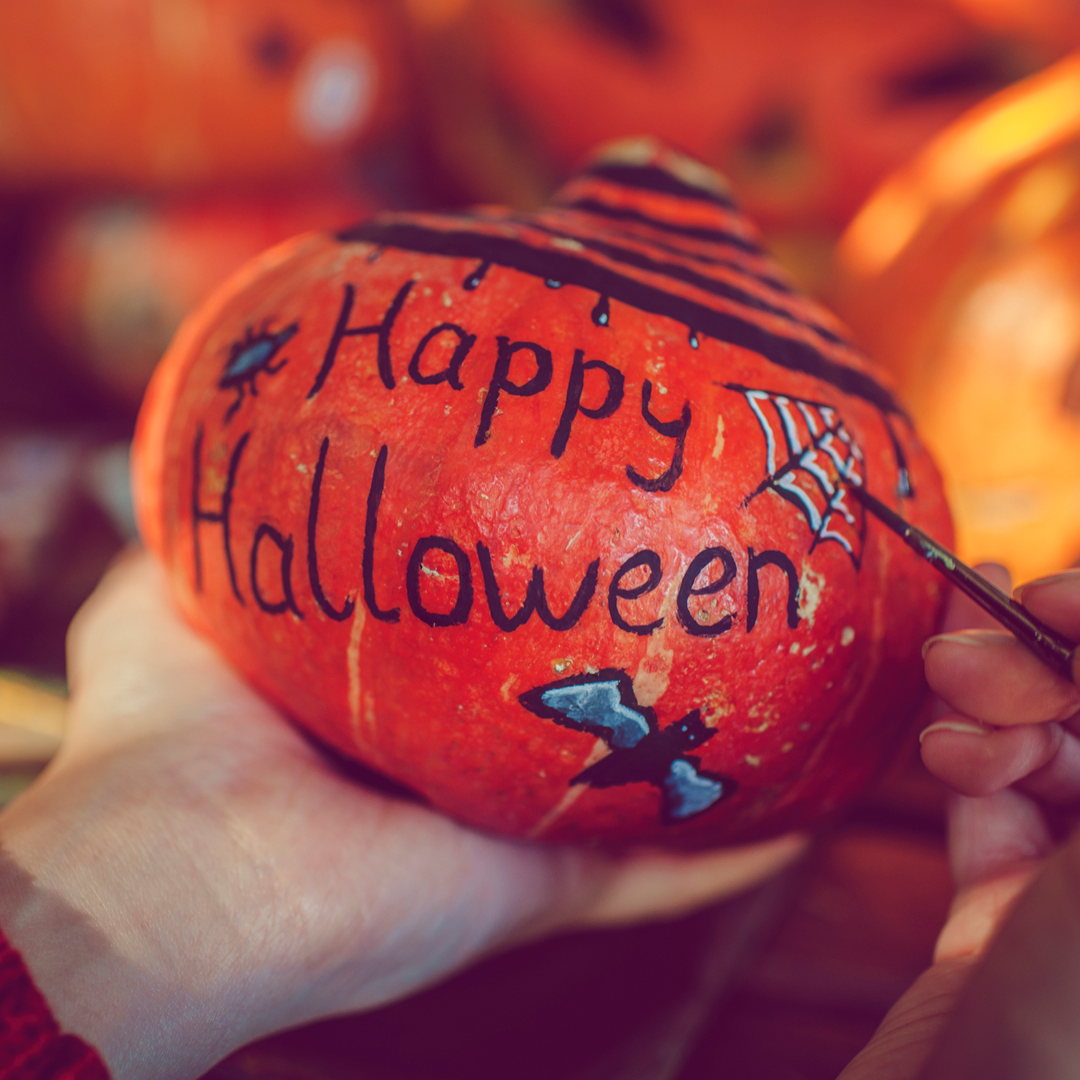
5. Halloween words
Love the written word? Put all your favourite Halloween phrases into action by using them to decorate your pumpkin. Paint your pumpkin first in a base colour – we’d recommend black or white – then get to work with metallic pens writing phrases like ‘Trick or Treat’ or ‘Ghouls Rule!’.
6. Decoupage
If you love a messy activity you can get stuck into with the kids, then don’t shy away from decoupage this Halloween. Cut out pieces of newspaper and magazines with a dollop of PVA glue and let the fun commence. Whether you want a more uniformed look or a patchwork design, your pumpkins are guaranteed to get all the attention.
7. Ombre pumpkins
Ombre pumpkins not only look amazing but are easy to create too. All you need are a couple of sponges and two or three paint colours in different shades of light and dark. Sponge your way from the top to the bottom of the pumpkin switching and blending colours as necessary.
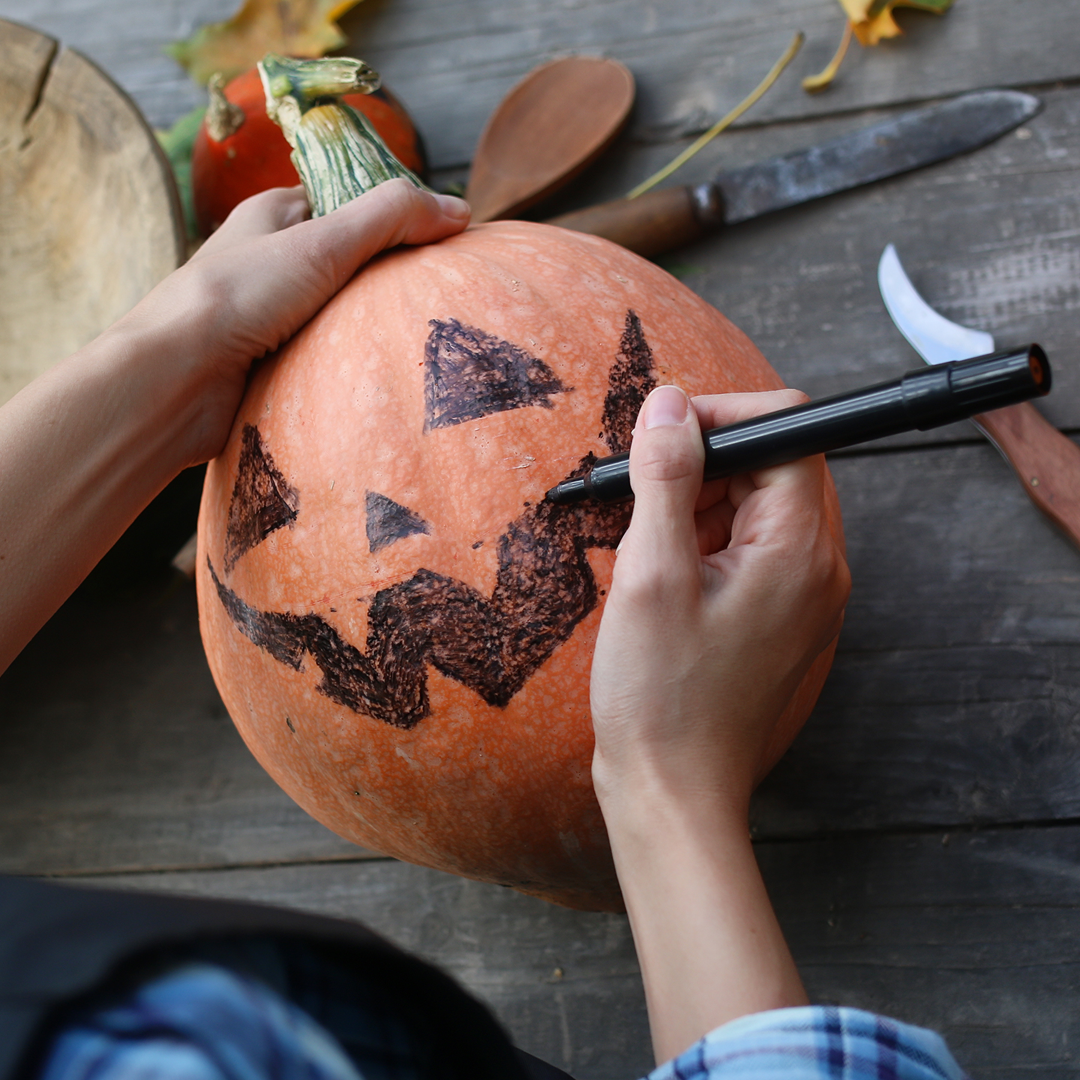
8. Doodling
Pumpkins make a great surface for doodling, so if you’ve got some marker pens handy, you’re ready to go. Whether you go for an intricate pattern or just want to draw a pumpkin face, this is a fun and mess-free way to do so.
9. Freehand painting
You’re the artist and your pumpkin is the canvas! Let your creative spirit run free with a paintbrush in your hand and a vision in your mind. The Scout Elves like to paint Christmas scenes or Mrs Claus’ cosy fireplace, but the options really are endless with this one.
10. Geometric patterns
Grab the masking tape, it’s time to get busy making an eye-catching geometric pattern. Simply mark out your shapes with your tape and fill in the gaps with coloured paint. This works great with a monochrome theme or a whole bunch of different colours – the choice is yours!
11. Chalk paint
Black chalk paint is great for covering pumpkins, and the best bit… you can use white or coloured chalk to change up your Halloween messages throughout October. Let your kids draw something for you or surprise them each day with a new design.
12. Pumpkin animals
Ghoulish faces aren’t the only things pumpkins are good for. Their round shape makes them great for creating animals too. Go for a black cat with ears and a tail, add wings for a spooky bat, or attach 8 legs and make it a creepy spider… the choice is yours.